|
Beadalon Beading Mats - Prevent Bead Rolling 12 x 9 Inch (Set of 3) SKU: XTL-9930 $3.99 |

|
The Beadsmith Cordless Thread Zap II Thread Burner Tool SKU: XTL-0106 $16.49 |

|
FireLine Braided Beading Thread, 4lb Test and 0.005 Thick, Crystal Clear (50 Yards) SKU: XCR-1275 $13.99 |

|
English Beading Needles Assorted Variety Pack SKU: XTL-3004 $4.20 |

|
Toho Round Seed Beads 8/0 48LF 'Opaque Frosted Periwinkle' 8 Gram Tube SKU: JSH-0241 $2.25 |

|
Toho Round Seed Beads 8/0 611 'Matte Opaque Gray' 8 Gram Tube SKU: JSH-0112 $2.99 |
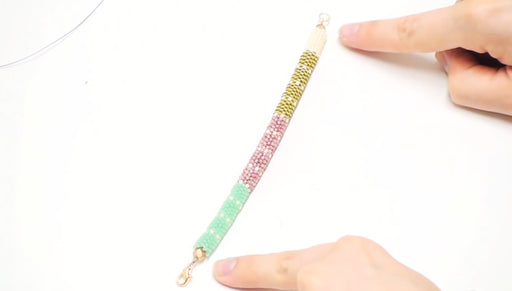
Hi. This is Andrea from Beadaholique.com and I'm gonna teach you herringbone stitch today. Here is an example of Herringbone used in a necklace. What I did here is I sewed together three separate panels of herringbone. I also added four millimeters Swarovski Bicones. Just sewed them right in between each row as little accent/ So right now I'm just going to teach you the basics of herringbone. Of course you're going to need a needle and thread. I'm using fire line and I'm using it in the .006 size. But I'm using white to contrast against the color beads that I've chose. I've got about one yard on my needle and I also have here two different colors of toho seed beads size 8/0 or eight aught. I'm just going to begin with a ladder stitch. So if you're not already familiar with the ladder stitch go ahead and watch our video on how to do that. I'm going to be alternating my colors here so I picked up a periwinkle bead and I picked out a gun colored bead. You don't need to stopper bead for this stitch. You're just going to need to pull two beaded down to about eight inches away from the end. I'm going to go ahead and create ladder of about six beads here. Here I have my ladder of six beads. Always with Herringbone you need an even number because your rows are rows of two and that's how you get that nice slanted bead look. Normally for ladder stitch what I would do is I would go back and reinforce the ladder making all of the beads lineup really nice and neat. Actually I have done that on this necklace. As you can see this first row is just perfectly straight and lined up next to each other but for herringbone you don't necessarily have to do that. So I'm just gonna go ahead and start my stitch. I have a gunmetal colored bead right there that's where my thread is coming out of. I'm gonna pick up another gunmetal colored bead and also another periwinkle bead. I'm going to go down through that periwinkle bead and back up through the next bead in the row which happens to be a periwinkle bead. You do the same thing. Pick up the gunmetal periwinkle go through. This is a fun stitch because it's kind of instant gratification you can already see the pattern forming how those beads sit like a v. I'm going to go back up through that last pairing. One last time pickup the gunmetal and periwinkle bead and down to that last. So that't you're first two rows right there. What I want to do and what I do with a lot of my bead stitches is turn it over so I'm always working the same direction. I wanna do that in this case by taking my needle I'm going between those last two beads through that thread catching that thread and then go back up through both of those periwinkle beads. I'm going to flip it over so I'm always working from right to left. Now since I've got periwinkle, gunmetal periwinkle, gunmetal I'm going to pick up periwinkle and gunmetal. I'm going to go through that second row gunmetal bead but instead of going all the way down and you're always going to have to help your beads sit on top of each other so it forms a nice pattern. Instead of going all the way through all of the rows I'm just gonna go right next to it up through that periwinkle bead. Pick up another periwinkle pick up another gun metal and you can even go all the way down and pull you're thread all the way through or sometimes when it gets a little easier you do a shortcut and go right next to it through the bead right next to it. Once again help your beads into place. Now I have three rows and I want to go back up and flip my work and I'm going to catch my thread between the two row before. I'm going to go up through those last two row there. Flipping my work once more so I'm always working right to left. I'm going to pick up a gun metal bead because that's the row on working on and then periwinkle go down to the second bead. You can do the shortcut. Go across to the next bead. Help your beads fall into place where they are suppose to. So now we have four rows of Herrringbone stitch and you can keep going and make it as long you want and make a bracelet out of it. How you would finish this off is you would do a ladder stitch on the last row and joined them altogether so their side by side or you can do what i did here and just make short segments. I made two segments that were four rows deep and eight beads long and one segment that is eight beads long and eight beads deep. Then all I did was I ladder stitched all three segments together. So once again here's a really versatile stitch. iIt's a really fun stitch. I like it. I think it's very pretty and I hope you have learned a lot and had fun. Thank you. Go to Beadaholique.com for all of your beading supplies needs!
Related Videos


How to End a Tubular Stitch
In this Beadaholique video, Andrea shows us how to end a tubular stitch.


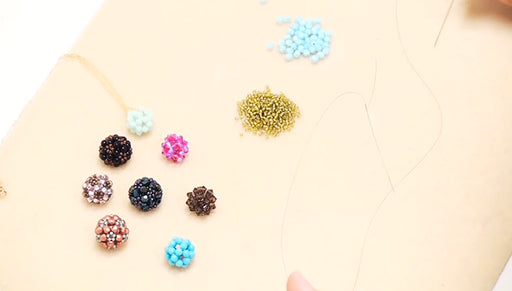
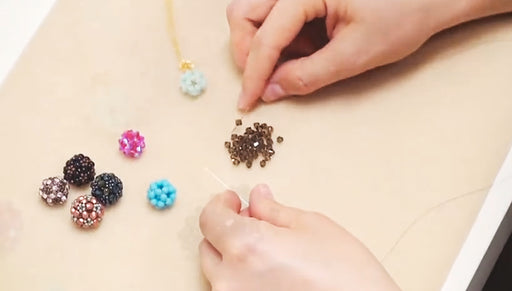
How to Make an Ornate Beaded Bead Using Right Angle Weave Double Needle Method
In this Beadaholique video, Andrea shows us how to make a ornate beaded bead using right angle weave and the two needle method.


How to Make a Beaded Bead Using Right Angle Weave Double Needle Method
In this Beadaholique video, Andrea shows us how to make a beaded bead using right angle weave and the two needle method.
